Integrate Expo Logic Badge on Demand with Nimble AMS
Overview
For associations who wish to print badges for event attendees, the Badge on Demand Integration is a badge printing solution that allows for badges to be printed during registration, prior to event attendance, or during self-check-in at an event. This integration solution allows for seamless passing of registrant information from the AMS into the badge printing software (Expologic) with little/no manual interference needed.
After configuring this integration, you can:
Print badges on demand using Expo Logic, from events in Nimble AMS
Give attendees the ability to check themselves in and print their own badges on-site.
Send QR Codes to each attendee before an event for expedited check-in.
Expo Logic requests certain output fields that are stored on various objects in Nimble AMS, and the field labels between the two systems are generally different.
This integration recipe will support Nimble Fuse providing endpoints for Expo Logic to access for the Badge on Demand functionality. Additionally, You can configure a button for Staff Users to enable the generation of the badge QR code within Nimble AMS
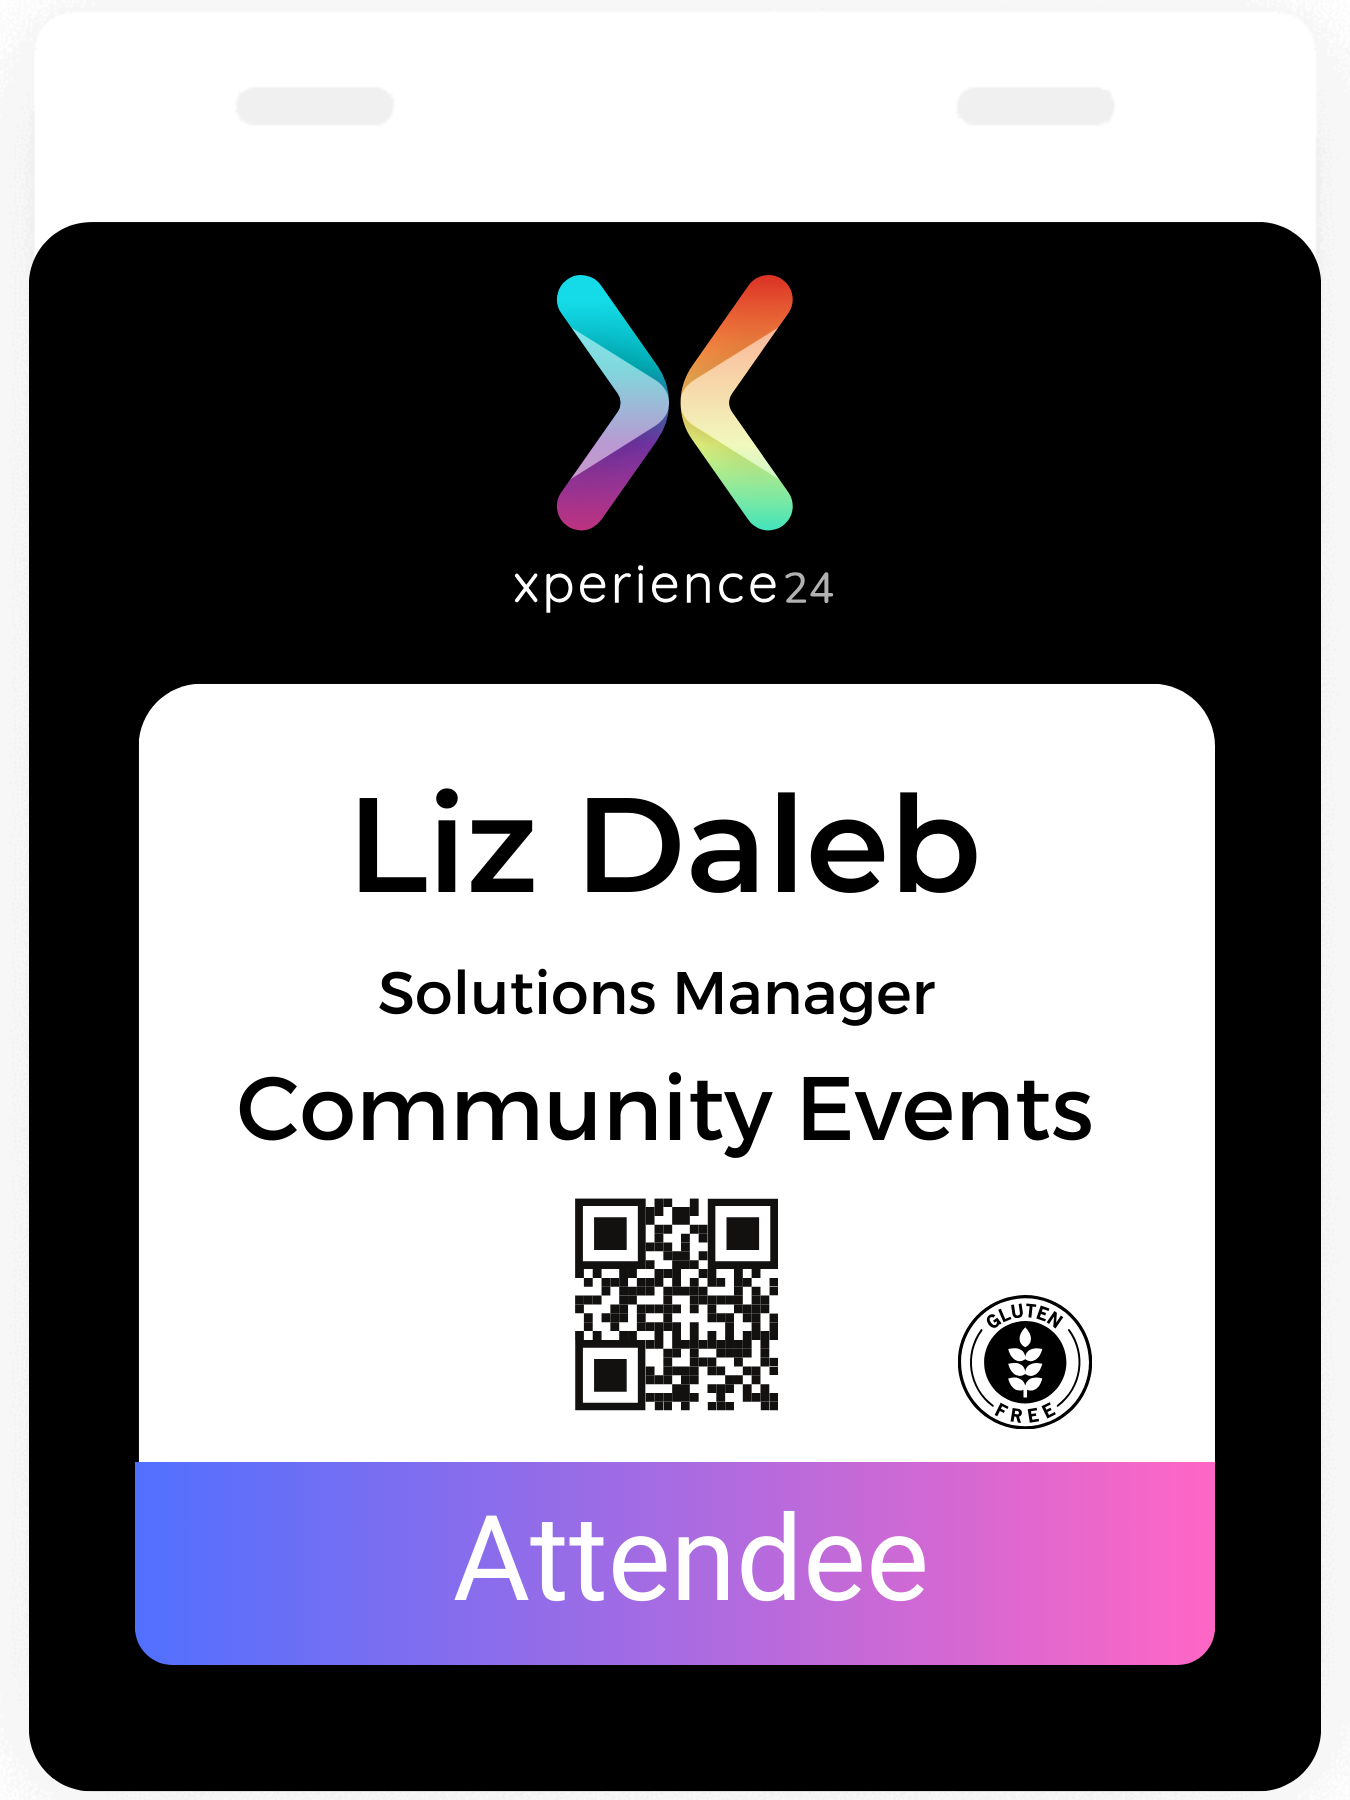
Figure 1. Front view of a Badge
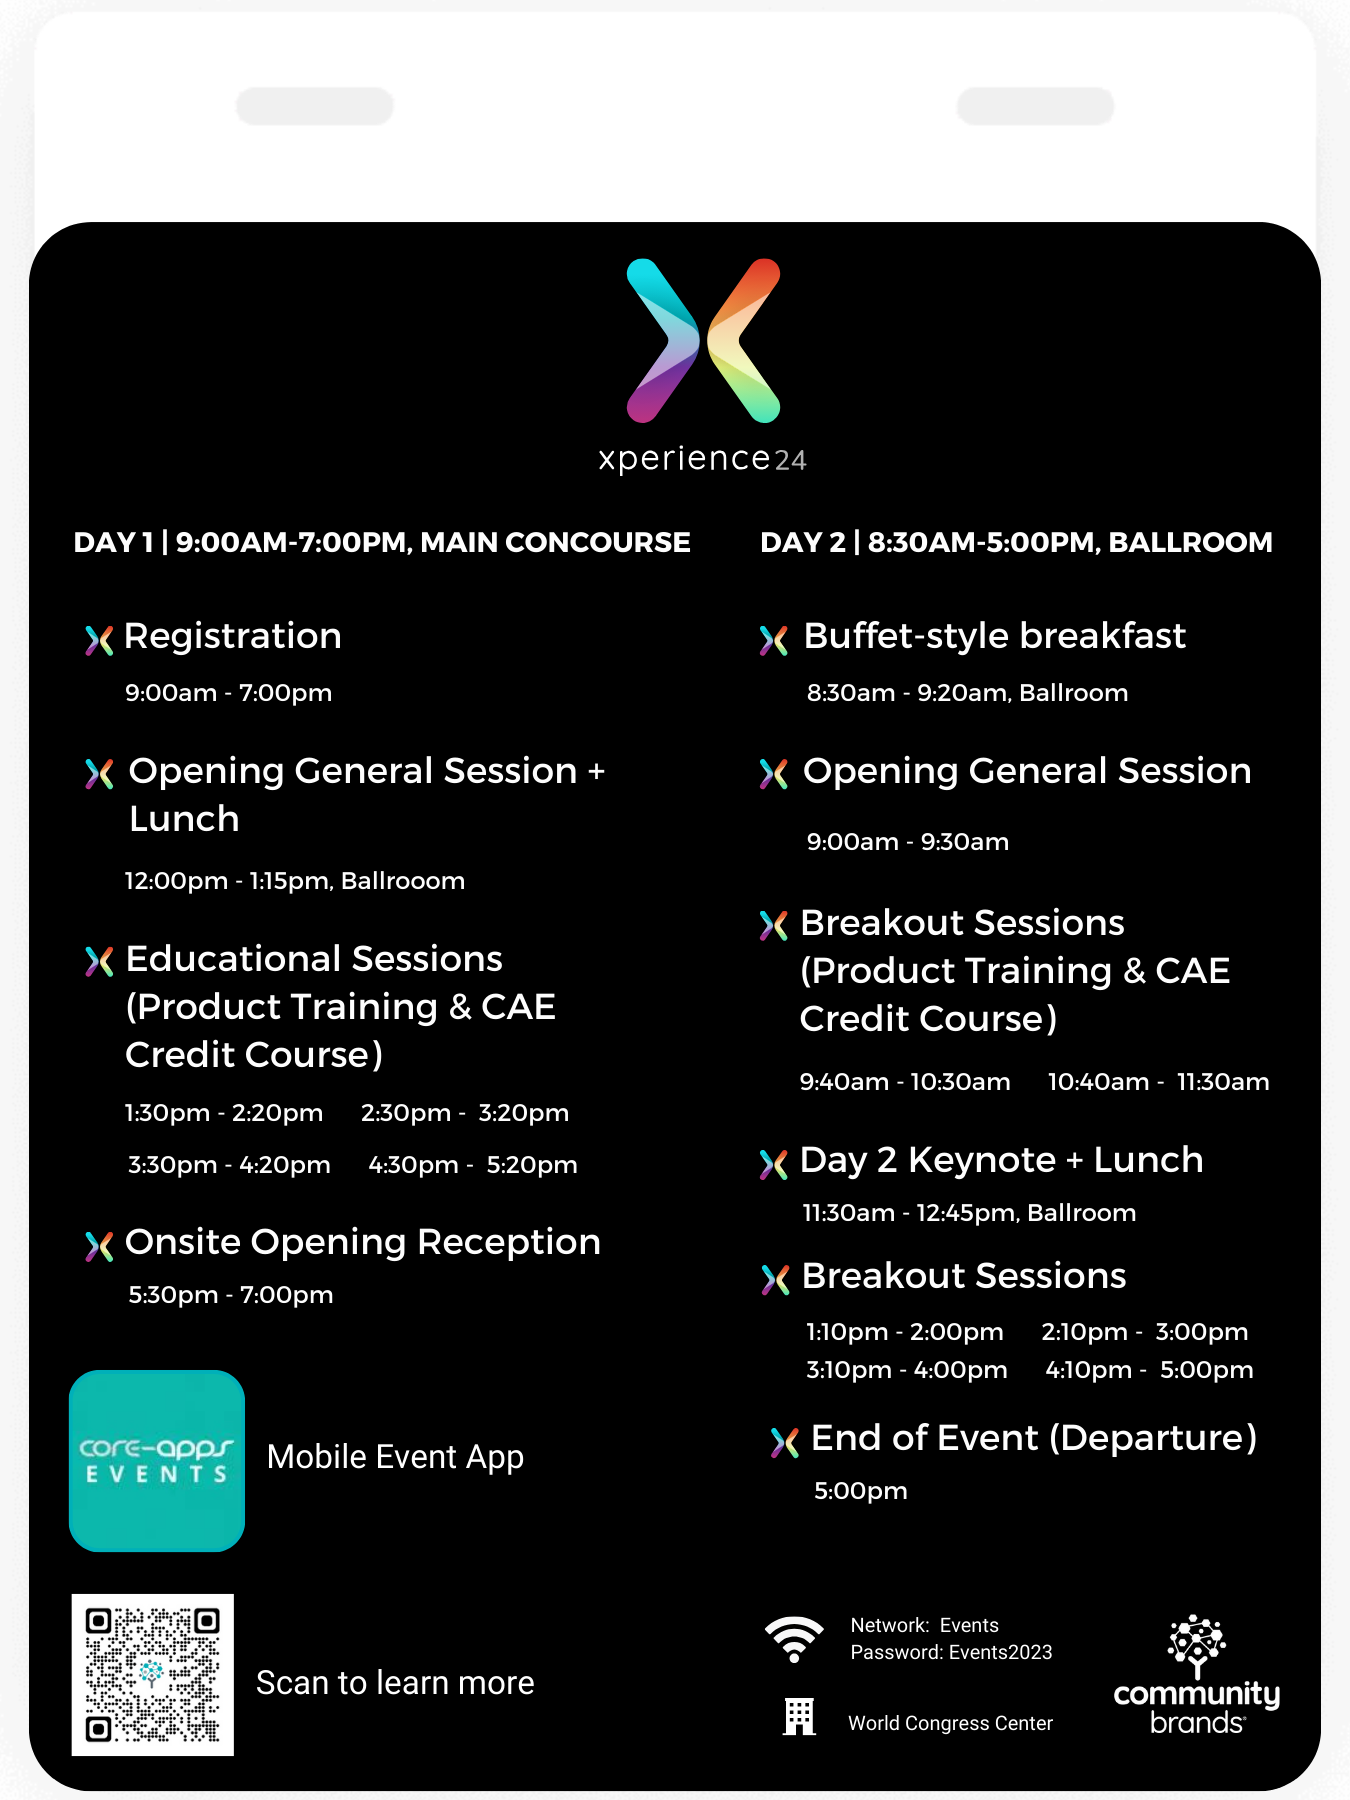
Figure 2. Back view of a Badge
Prerequisites
- The requires Nimble Fuse to be installed and configured for your org
- For Outbound calls only - Nimble Fuse should be configured for Anonymous Requests (see: https://help.nimbleams.com/grant-integration-permissions-144801999.html )
- If Customizing for Data Write-back (Inbound, will need a User for authentication)
- You should be familiar with Nimble Fuse
- You should be familiar with the SOQL (Query Language)
- This requires an Expo Logic account and services to be configured. (Note: Expo Logic setup and configuration is separate from the Nimble Integration for Expo Logic.)
- Expo Logic will provide a unique {client_key} and {client_code}. These are required for the Staff View button for badge QR code generation.
Supporting Elements
There are several custom fields to be created to enable the Out Bound integration with Expo Logic.
| Field | Object | Type | Field Name | Help Text |
| Badge Number | Event Badge | Formula (Text) Formula = SUBSTITUTE(Name,'Event Badge ', '') | NU__EventBadge__c.BadgeNumber__c | The badge number, in text, derived from the badge's Name field. Used for ExpoLogic. |
| Do Not Print | Product | Check Box | NU__Product__c.DoNotPrint__c | Indicates if the product should have physical tickets or slips printed via ExpoLogic. For example, a registration product that represents an event session may require the attendees to bring printed tickets for admission. |
| EventKey | Event | Formula (Text) Formula = CASESAFEID(Id) | NU__Event__c.EventKey__c | The 18-character (case-insensitive) record ID for this event. Since this field outputs a Text data type, it can be used in SOQL string filters that require filtering on the value of the event Id. Used by the Expo Logic integration. |
| Is Session | Product | Check Box | NU__Product__c.IsSession__c | Passed to ExpoLogic for badge/ticket retrieval. |
| Registration Key | Registration | Formula (Text) Formula = CASESAFEID(Id) | NU__Registration2__c.RegistrationKey__c | The 18-character (case-insensitive) record ID. Since this field outputs a Text data type, it can be used in SOQL string filters that require filtering on the value of the Id. Used by the Expo Logic integration. |
ExpoLogic Print Count | Registration | Number (18,0) | ExpoLogic_Print_Count__c | This represents the number of times that an attendee printed their badge. |
Flow
In order to ensure that the External ID field is populated to enable write back of the badge print count, a new record triggered flow should be added to your org. This flow will run after creation of a Registration record and will update the ExternalD field with the RegistrationKey__c value (CASESAFEID).
Note: If you use the External ID field for other purposes you will need to create a new text field and replace it in the Inbound integration specified below.
Integration Settings
In the Nimble Integration Framework, the following Integration Settings need to be created.
Integration Setting "getEvents"
Name: getEvents
RecordTypeName: Outbound Data
Sharing Mode: Without Sharing
Authentication Key: Exp0L0g1c1234 (this is an example and will vary with your deployment)
Query
SELECT Id, EventKey__c, Name, NU__City__c, NU__Country__c, NU__StartDate__c, NU__EndDate__c FROM NU__Event__c WHERE (EventKey__c LIKE '<<event_key>>' OR Name LIKE '<<event_title>>') AND NU__EndDate__c >= <<event_end_datetime>> Order by NU__EndDate__c desc
Integration Setting "getBadgesAndTickets"
Name: getBadgesAndTickets
Description: In Nimble AMS, Event Badges (aka Badges) and Order Item Lines (aka Tickets) are both child objects of the Registration object. To collect all the required data, the SOQL will primarily select on Registration2__c while simultaneously performing two sub-selects, one on EventBadge__c and one on OrderItemLine__c.
RecordTypeName: Outbound Data
Sharing Mode: Without Sharing
Authentication Key: Exp0L0g1c1234 (this is an example and will vary with your deployment)
Query
SELECT
Id, NU__Event2__c, RegistrationKey__c, NU__RegistrantEmail__c, NU__Balance__c, NU__Account2__r.ShippingStreet, NU__Account2__r.ShippingCity, NU__Account2__r.ShippingState, NU__Account2__r.ShippingPostalCode, NU__Account2__r.ShippingCountry, NU__Account2__r.Phone, NU__Account2__r.Fax, NU__Account2__r.CLIENT_ID__c, NU__Account2__r.NU__MembershipType__c, NU__Account2__r.NU__FullName__c, NU__Account2__r.NU__PrimaryAffiliation__r.Name,
(SELECT
Id, BadgeNumber__c, NU__FirstName__c, NU__LastName__c, NU__Suffix__c, NU__BadgeClass__c, NU__CasualName__c, NU__Company__c, NU__ProfessionalTitle__c, NU__City__c, NU__State__c, NU__Country__c, NU__Designation__c
FROM NU__EventBadges__r ),
(SELECT
Id, NU__Registration2__c, NU__Quantity__c, NU__Product2__c, NU__Product2__r.Id, NU__Product2__r.Name, NU__Product2__r.NU__Event2__c, NU__Product2__r.NU__Description__c, NU__Product2__r.IsSession__c, NU__Product2__r.DoNotPrint__c, NU__Product2__r.NU__Event2__r.Id, NU__Product2__r.NU__EventSessionStartDate__c, NU__Product2__r.NU__Event2__r.NU__Country__c, NU__Product2__r.NU__Event2__r.NU__City__c
FROM NU__OrderItemLines__r)
FROM NU__Registration2__c
WHERE (NU__Event2__r.EventKey__c LIKE '<<event_key>>'
<<logical_operator>> RegistrationKey__c LIKE '<<reg_key>>')
AND Id IN (SELECT NU__Registration2__c FROM NU__EventBadge__c WHERE
(NU__BadgeClass__c LIKE '<<reg_type_code>>'
<<logical_operator>> NU__LastName__c LIKE '<<last_name>>'
<<logical_operator>> NU__FirstName__c LIKE '<<first_name>>'
<<logical_operator>> (NU__Company__c LIKE '<<company_name>>' OR NU__Company__c = '')) <<badge_logical_operator>> BadgeNumber__c LIKE '<<badge_number>>')
NOTE(s): Replace CLIENT_ID__c with any custom ID you may be using and wanting to send (Example: NU__Account2__r.ISEN_ID__c); You may wish to filter out and only include Registrations where the status is 'ACTIVE'
Integration Setting "ExpoLogicPrintCountUpdate"
Name: ExpoLogicPrintCountUpdate
RecordTypeName: Inbound Data
Sharing Mode: Without Sharing
Inbound Object Name: NU__Registration2__c
Authentication Key: Exp0L0g1c1234 (this is an example and will vary with your deployment)
Integration Inbound Settings
** Note: Lowercase is required **
| Integration Field Name | Salesforce Field Name |
|---|---|
| nu__externalid__c | NU__ExternalId__c |
| printcount | ExpoLogic_Print_Count__c |
Verification
When these steps are complete, refer to the the sample REST queries for POST to verify the endpoint are correctly created and the data is correctly retrieved.
EX:
POST
{
"Request":{
"Name":"getEvents",
"AuthenticationKey":"Exp0L0g1c1234",
"Parameters":{
"event_key":"%",
"event_title":"%",
"event_end_datetime": "1970-01-01T00:00:00Z"
}
}
}
How to use the Expo Logic ExpressPass Check-in
The Expo Logic ExpressPass check-in service provides a QR code for event registrants. Scanning this code at the event check-in kiosk will prompt the system to print the specific event badge for the user and event.
Generating the ExpressPass Check-in QR Code
When configuring an event in Expo Logic you will be provided with an ID that the software will use for that event. This ID should be unique for each registrant.
Replace <<ID>> in this formula to generate the ExpressPass Check-in code
<img src=" https://www.expologic.com/barcodes/qr/100/<<ID>>.png"/>
Once you have configured the action to generate a QR code, this can be accessed via a Button in Staff View (See below), or emailed to Nimble AMS users using Nimble Create to build custom emails (See https://help.nimbleams.com/nimble-create-144802288.html)
Further Functionality - Add Express Check-in code to View Registration Community Hub card.
By adding a new custom card to the View Registration page in Community Hub, you can display the Express Check-in code for the current registration.
Configuring a Button for Badge on Demand in Staff View
Admins can configure a button for staff labeled badge[on]demand that is available when viewing a registration record in Nimble AMS Staff View. When a staff user clicks this button, it launches Expo Logic's badge[on]demand service, specifically for the registration they are currently viewing and will render the event badge for local printing.
Create the badge[on]demand Button
For the Registration object, create a custom button with the following values.
Field
Value
Labelbadge[on]demandNameBadgeOnDemandDescriptionNavigates the staff user to Expo Logic's badge[on]demand to print the badge for a registration.Display TypeDetail Page ButtonBehaviorDisplay in new windowContent SourceURLFormulahttp://badgeondemand.expologic.com/print/?reg_key={!NU__Registration2__c.RegistrationKey__c}&evt_key={!NU__Registration2__c.EventKey__c}&client_key={client_key}&clientCode={clientCode}– Replace
{client_key}with the unique key for your association provided by Expo Logic.– Replace
{clientCode}with the unique code for your association provided by Expo Logic.
Make the badge[on]demand Button Available to Users
Add the badge[on]demand button you just created to your Registration page layout(s).
We recommend testing to ensure the button appears and that the resultant URL is correct. If there are issues, review the URL and make sure the merge field parameters (
reg_keyandevt_key) were merged correctly, and also make sure {client_key}and {clientCode}are the correct values that Expo Logic is expecting.
To use the new button
Open a registration record.
Typically you would get to a registration record via the Registrations tab, or from a related list on a parent record, such as an event record or account record.
Click the badge[on]demand action on the record page.

If you don't see the action/button, ensure that it has been added to the page layout.
What can you do after the Integration is configured?
|
|---|