The online shopping cart feature that is part of our Member Portal e-commerce platform offers capabilities that can streamline your association members' shopping experience. The shopping cart is designed to enable association members to review the products that they've added to it, update the quantity as needed, and remove the products before the checkout process. We've incorporated these elements to optimize the usability of your store.
How members can add items to their shopping cart
As members browse your store, they can add items to their shopping cart by selecting the quantity (on the Product Details page) and clicking on the Add to Cart button. The button will change by showing a checkmark as a confirmation of this action.
An administrator can configure the 'Add To Cart' button to define and set the destination behavior of the ‘Add to Cart' button. The feature can be configured per product through the staff view. It provides opportunities for Associations to offer product types other than Merchandise through the Lightning Store and control the next steps in the purchase process, especially for products where certain information needs to be collected before adding the product to the shopping cart. As an example, Associations can bring additional exposure to their upcoming Events by listing them in the Lightning Store (with a custom data source) and the ‘Add to Cart' button on the Product Details could direct the member to the Events details page or the registration process.
When the member is ready to move forward with purchasing the items, they will just need to click on the Cart icon button beside Add to Cart and the Shopping Cart page will display. From there, they can move forward with checking out the item.
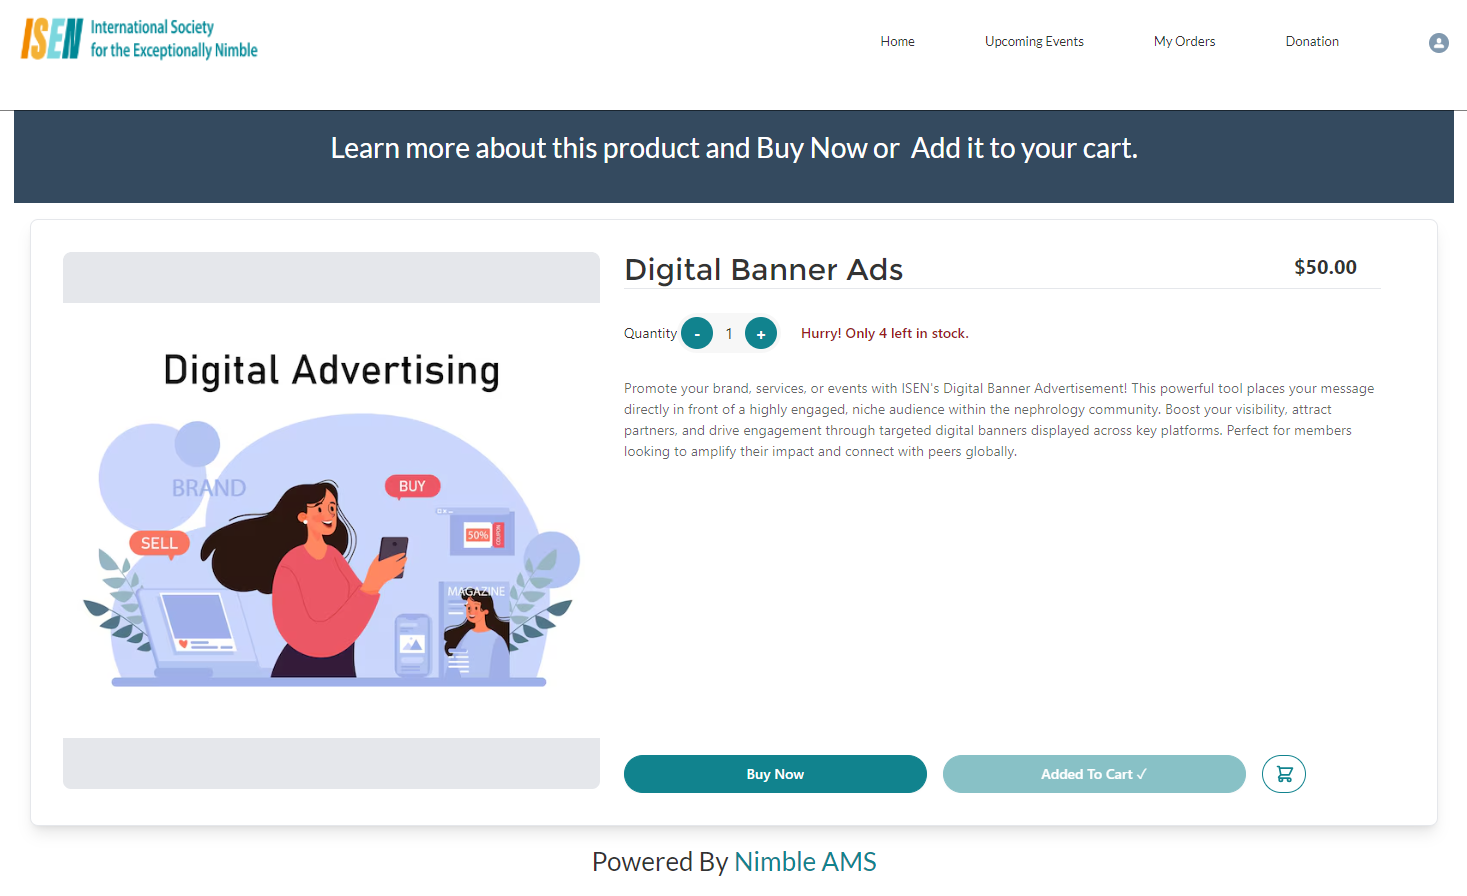
Figure 1. Add to Cart button on the Product Detail Page
How members can view the number of items in their shopping cart
As Members shop from your store, they can view the number of items in their cart by clicking on the Cart icon. The 'Shopping Cart' page will display that will show the number of items in their cart on the left half of the page.
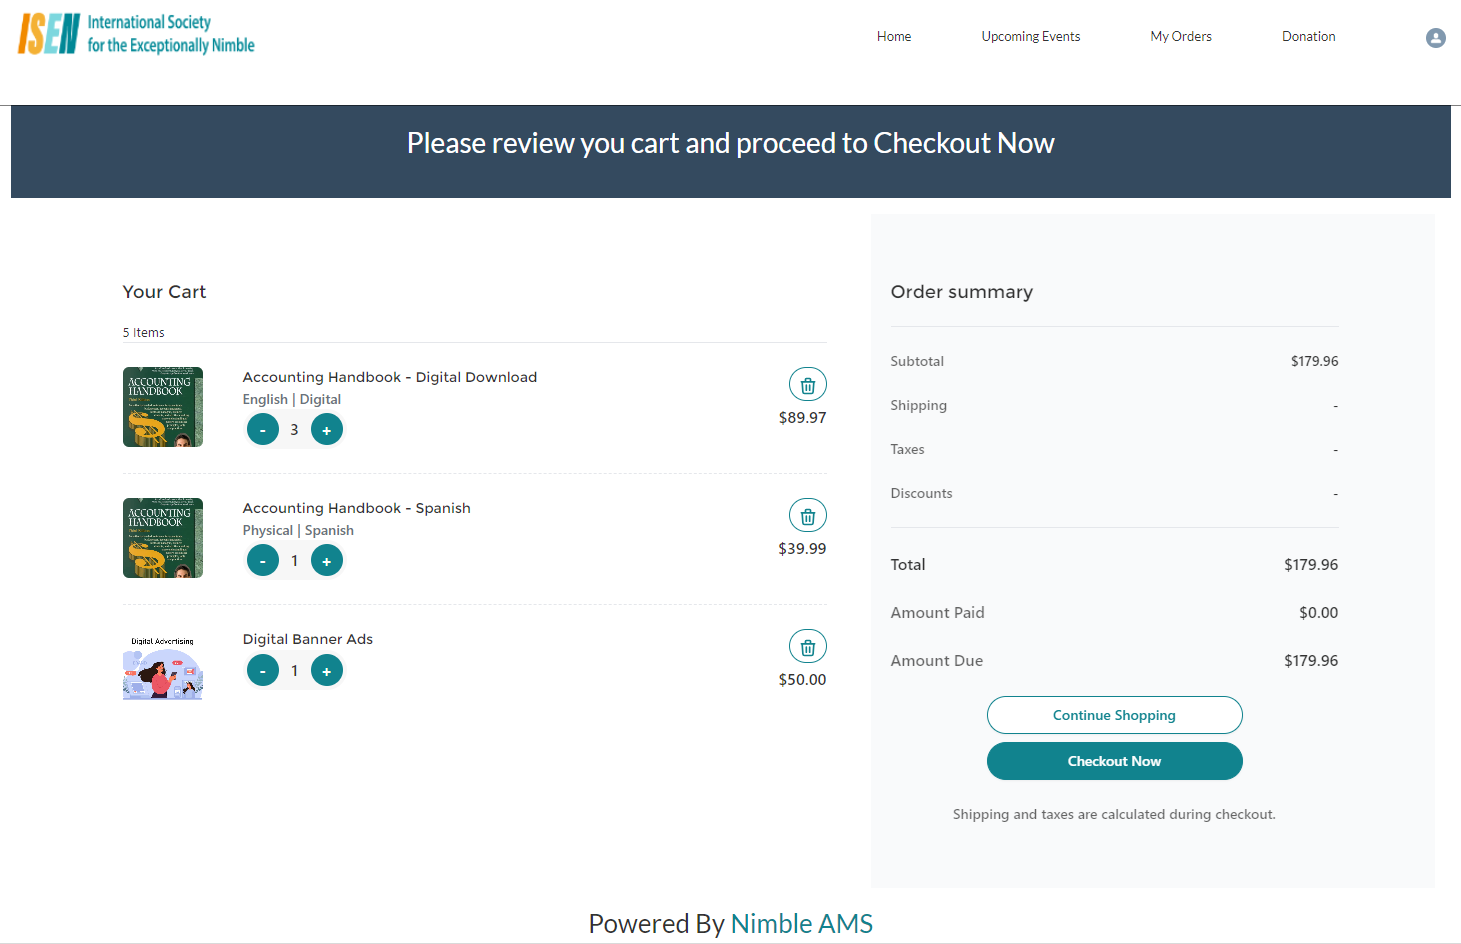
Figure 2. Shopping Cart page where members can view the number of items in their cart
How members can change the quantity of items in their shopping cart
As members shop in your store, the Quantity element of the Shopping Cart page can be used to change a product's quantity and make adjustments as they see fit. They can also adjust the quantity if they've exceeded the maximum number allowed or a product is low in inventory.
Certain scenarios will cause the following messages (listed below) to display on the screen and prompt the member to change the quantity of an item in their cart or remove the product.
-
The product is now out of stock and the user needs to remove the product from the cart.
-
The quantity selected for the product is higher than the available inventory. The user needs to lower the quantity.
-
The quantity selected for the product exceeds the maximum limit allowed for purchase.
-
The product is no longer sold and needs to be removed
The Checkout option will not be available until the user takes appropriate measures.
The Quantity is located right under the product name on the 'Shopping Cart' page to make it easy to find. They can simply click on the [+] or [-] button to change the number of items.
How members can remove items from their shopping cart
As members browse your store, they can remove an item from their shopping cart by clicking on the trashcan icon located above the price on the Shopping Cart page. A dialog message will display that will ask if they are sure they want to remove the selected item. If they select 'Yes, Remove' then the page will show that the cart is empty if that's the only item they had in it. If they had multiple items in the cart (as shown in Figure 2) and removed one of them, then it would no longer appear on the page.
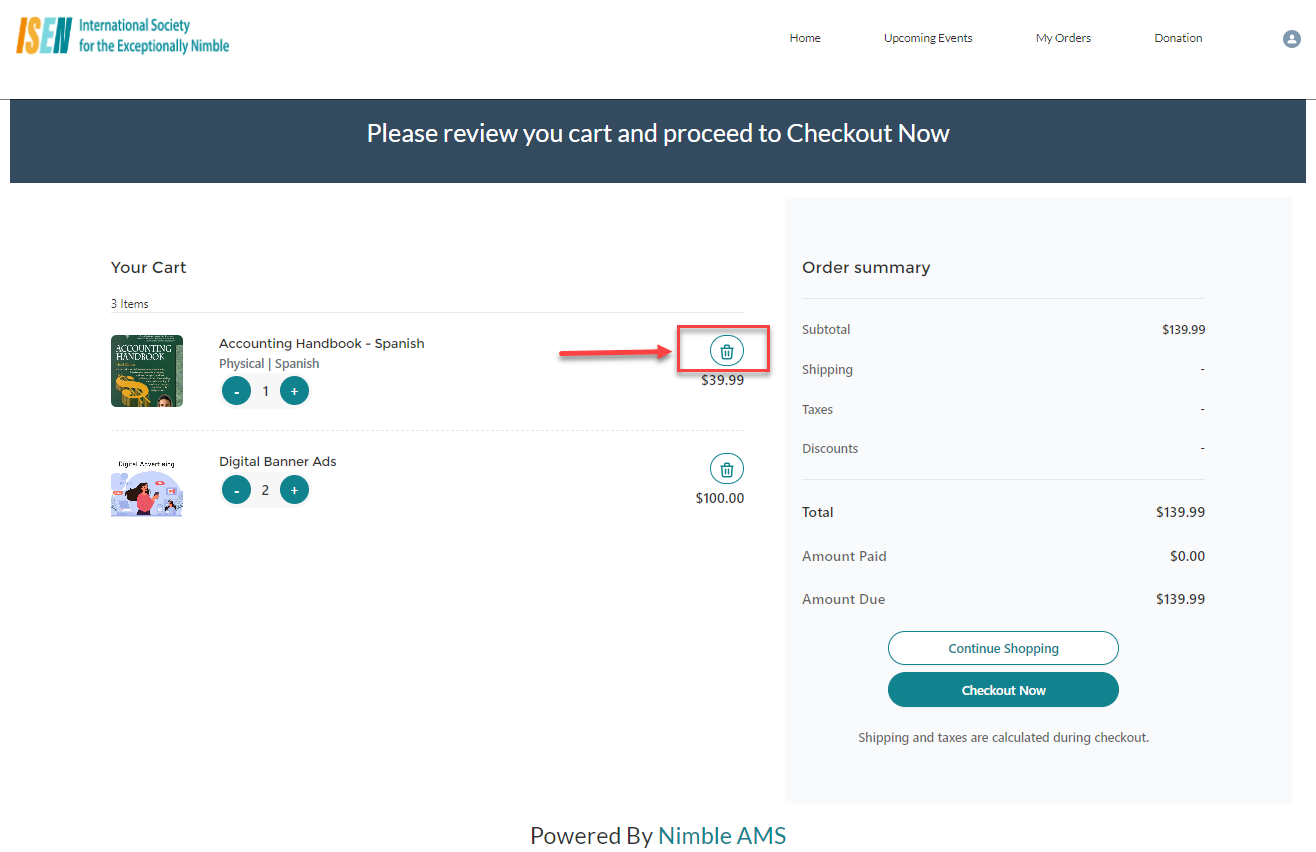
Figure 3. The screenshot displays a Trashcan icon that members can click to delete an item.
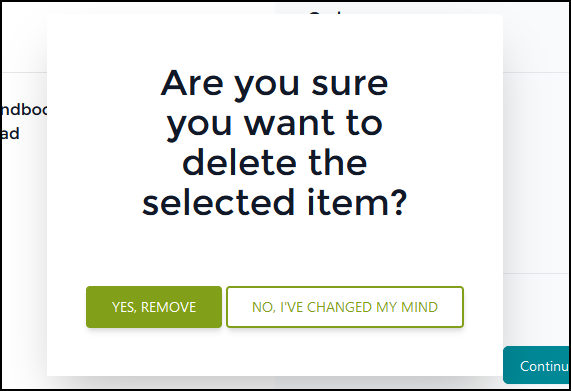
Figure 4. Dialog message that will display if the member clicks on the trashcan icon to remove an item
How members can check out a product to purchase
Members can choose "Continue Shopping" to keep browsing or add more items to their cart without interrupting the purchase. Alternatively, they can select "Checkout Now" to complete their purchase. See Figure 5.
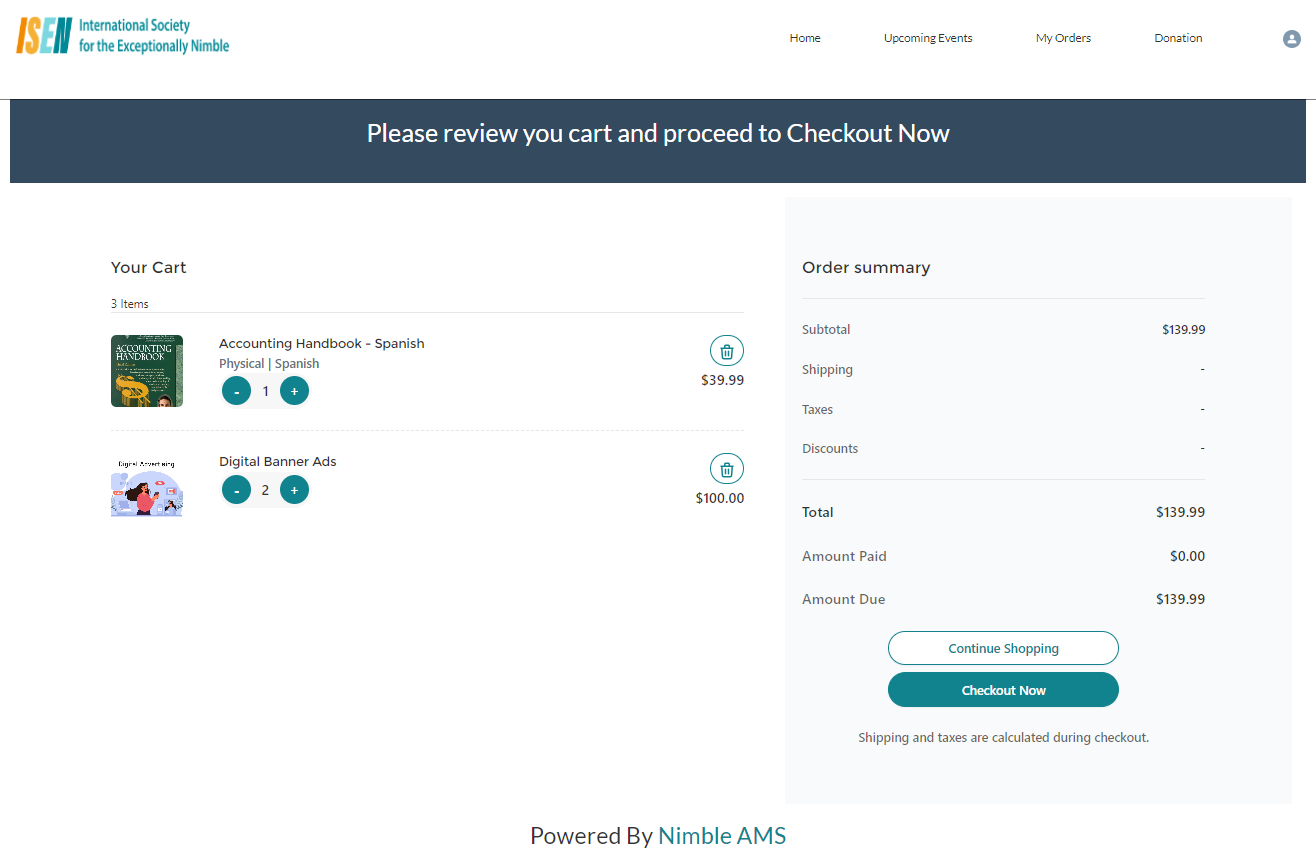
Figure 5. The Screenshot shows the Continue Shopping and Checkout Now button
Next, customers should choose their payment details and shipping information on the Checkout page, then proceed to click 'Pay'. See Figure 6.
If the user needs to adjust the quantity or remove the product, they have the option to go back to the shopping cart by using the Back to Shopping Cart button. See Figure 6.
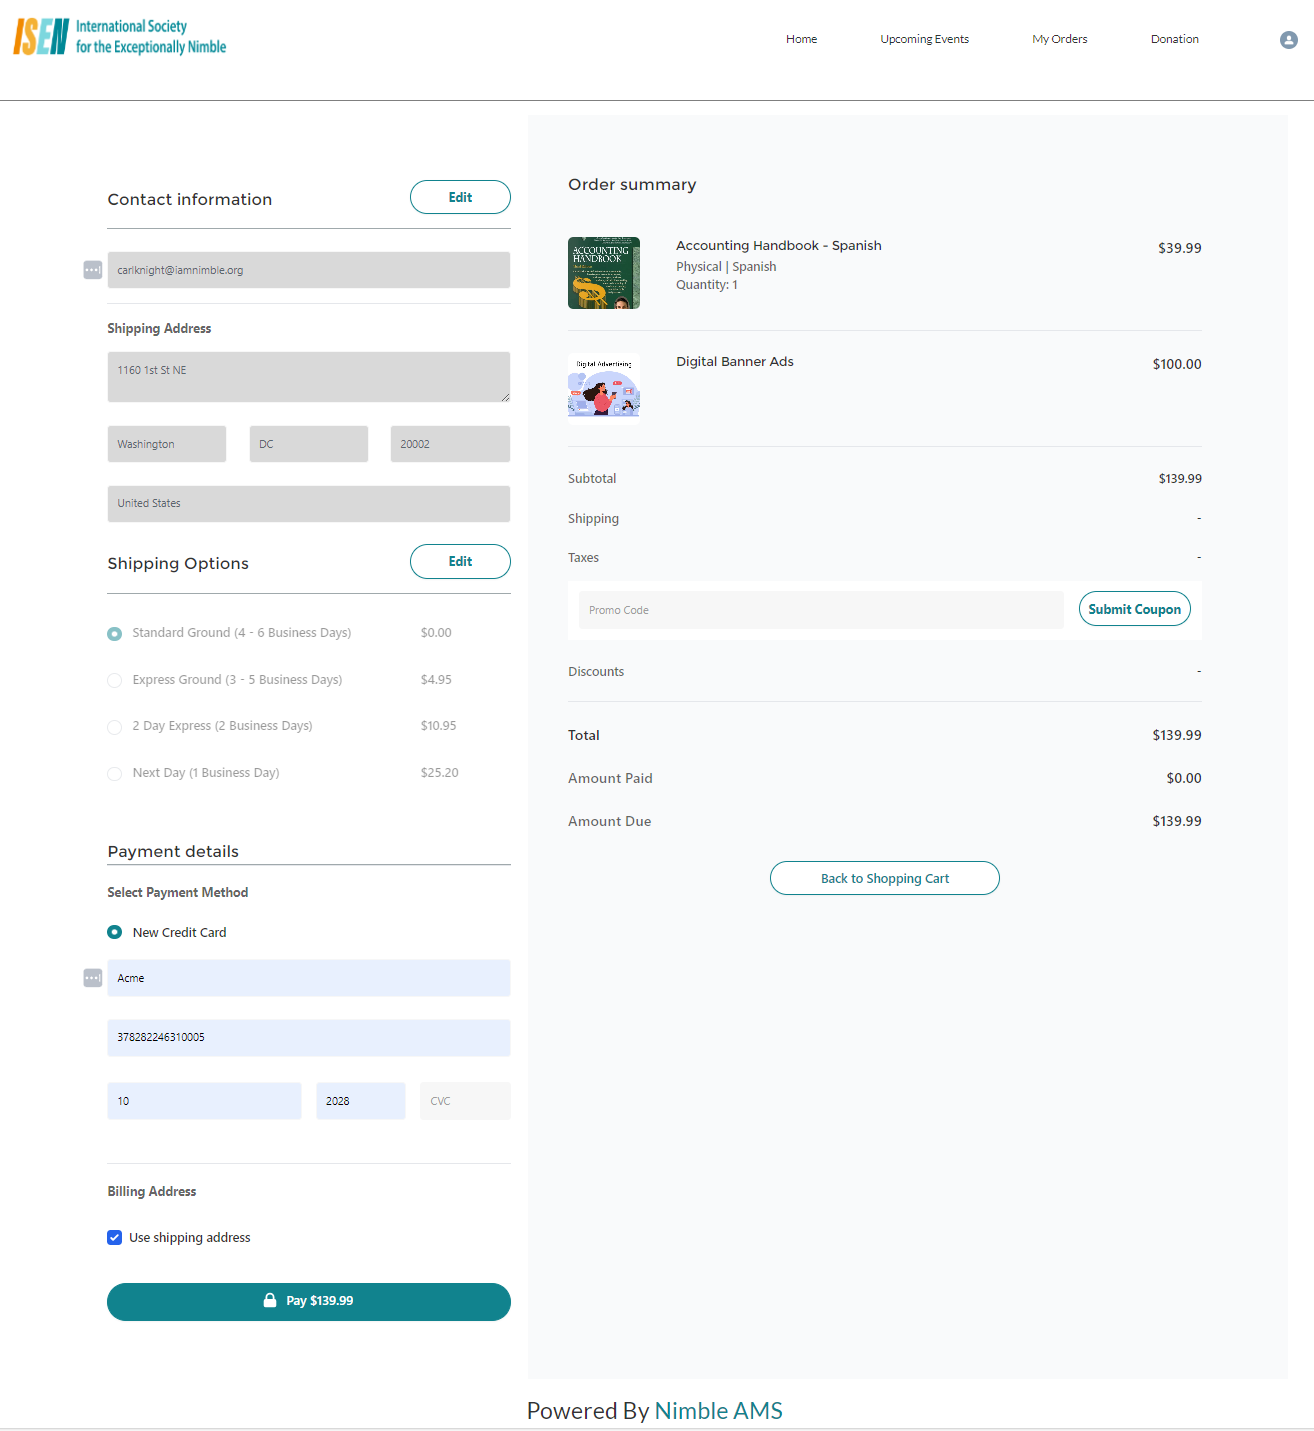
Figure 6. The screenshot shows the Member Portal checkout page.
Related Topics
Shopping Cart for Experience Cloud